Baby Alexandra
I made this baby quilt for a friend in July 2016.


Festival de Colores
This quilt took over a year to finish due to health issue. It was supposed to be a Christmas gift for 2016, however I was not able to finish it until just before Christmas of 2017. They wanted a quilt with lots of colours.


Teddies and Bunnies
I made this cute baby quilt for a friend in Nov 2017.


Fairy Tales
I made this baby quilt in December 2017 for a friend. I repeated a pattern I had previously made because it is very pretty!


All Aboard!
I made this quilt as a retirement gift for a friend.
I also acquired the display rack so I can take nice pictures of my quilts outside in the sunlight.


Dumbo and Friend
Another very nice baby quilt for a friend.


Musical Wall Hanger
My other passion is music, specifically playing guitar.
I made this music themed wall hanger for my music studio.


Sweet Petunias
I finished assembling this quilt top in March 2018.
I am waiting to quilt this on a Long Arm machine.

Moscato D'Asti
I made this quilt for myself.
It is also awaiting to finish this on a Long Arm machine.


NEW TOY!
I acquired the AcuQuilt GO! in Jan 2019 and started enjoying it right away!
I have since bought many of the dies, it makes cutting multiple pieces so easy and quick!

Wheelchair Quilts
My friends and I made a number of wheelchair quilts to be donated to the special care home for elderly persons where my aunt is now residing. We found that many of the residents were using bath towels to keep warm while sitting in their wheelchairs. I made 4.
I had this Roses material for a long time and finally found a way to put it to good use.
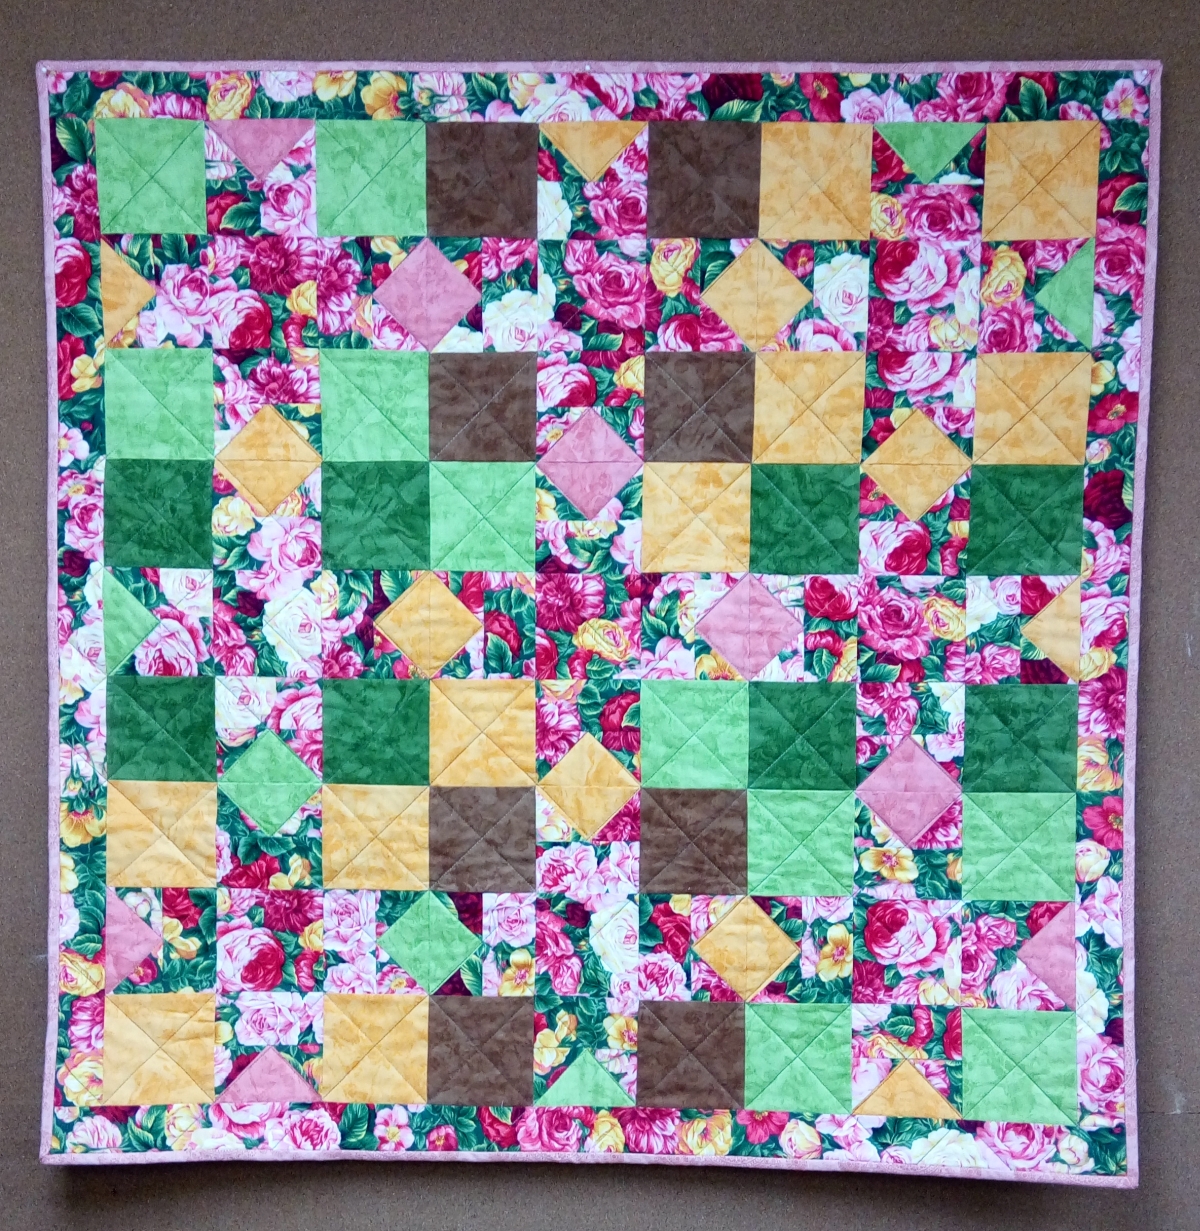


A simple 9 patch block using multiple shades of multiple colours.

A simple square with sashing using the left over fabric from the previous trains quilt.

For this one I decided to do a different quilting finish pattern instead of my usual cross hatch pattern.

It wasn't hard to do, just a lot of work!

I used some more of the Roses material for this simple pattern.


Susie's Magic Binding
I found this very nice tutorial that shows two techniques for binding. This shows how to make the Flange Binding and how to join the ends of the binding using the sewing machine without having to overlap the ends. Here is a link to the tutorial:


A close up look at the 'Flange'.

For this exercise, I used 4 separate sections of binding so I could practice joining the ends using this technique.


Here is a view of the binding joint front and back.
Teddy Bears
So now it is April 2019 and I'm making this baby quilt for my older sister for her friend.
I'm started with the Teddy Bear panel which turned out to be printed crooked. Hopefully once it is quilted it won't show.

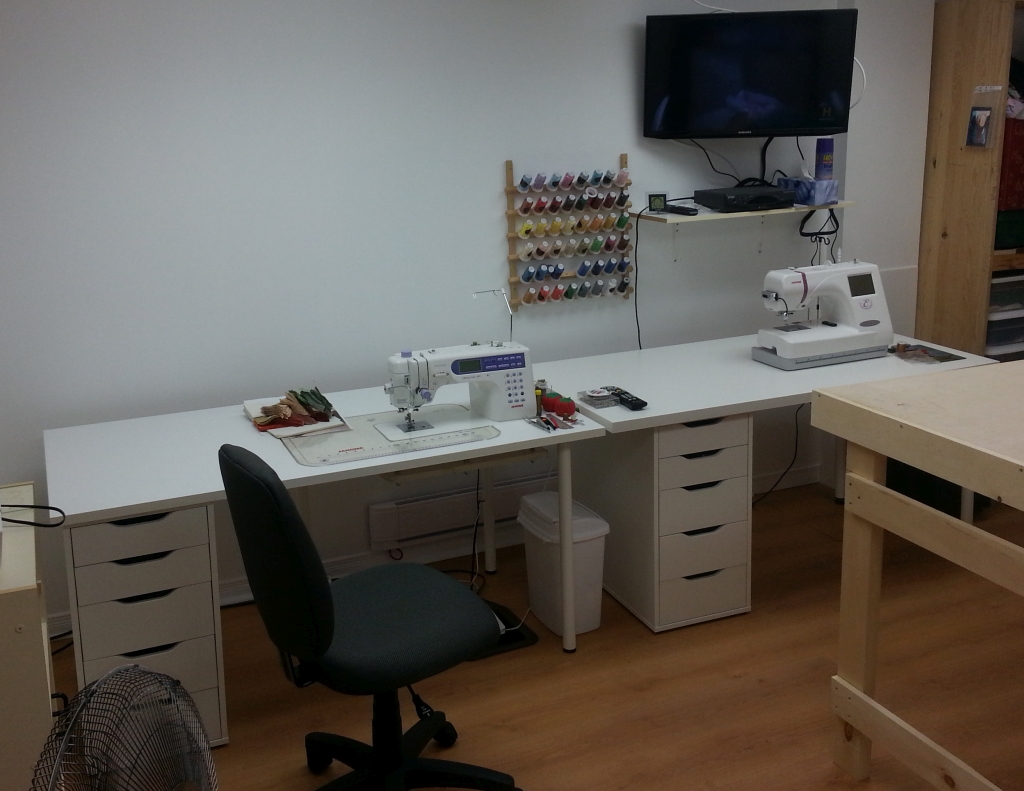
Quilt Room Accesories
For the longest time I was using a standard ironing board next to the cutting table. After I while I decided it would be very convenient to have a larger/longer ironing board. So, I acquired this ironing table, a 18x72 inch pin board, some ironing table cloth and fabricated this. I used two layers of batting under the ironing cloth. I specifically searched for a table with these legs as I find them to be more stable than the T-bars.

The new table is great, except one thing. It's lower than the cutting table!

I modified my original assembly by adding spacers.

Now it is level with the cutting table which makes it easier to drape large pieces on the table for ironing.


Mini Ironing Table
I got tired of getting up to iron small pieces as I assembled them. To that end I used this small desk and added a ironing top.

Along with the Steamfast travel iron I don't have to get up to iron all the small pieces now.

It fits nicely under the cutting table.

Expanding the Cutting Table
I acquired a 4x8ft cutting mat, which was too big for my cutting table. Since I didn't want to cut the mat down to size, I decided to expand the length of the table. To that end I added a frame to the end with diagonal supports and covered it with a fitted board. Voila! Now my table is large enough for the new mat! The extension is easy enough to remove if necessary.

And my quilting supervisor, Buck, approves!


That pretty much bring things up to date. Cheers!